
Mastering the Art of Virtual Client Presentations: 12 Key Ways
/


More and more, interior designers are opting for virtual design presentations, not just for their efficiency but also for the technological tools they offer. Given the crucial role these presentations play in forging client relationships and setting the project's design course, you want to have them down to a science. Today, I’m here to break down how to refine your virtual presentation skills to perfection, ensuring every slide strengthens your connection with your clients and clearly communicates your vision.
1. Choose Your Tools
For crafting those eye-catching presentations, programs like Canva, PowerPoint, Google Slides, and Milanote are some go-to choices. They offer versatility and feature user-friendly design capabilities. When it's time to present, platforms like Zoom, Google Meet, and Microsoft Teams are the frontrunners, all supporting the essential screen-sharing feature.
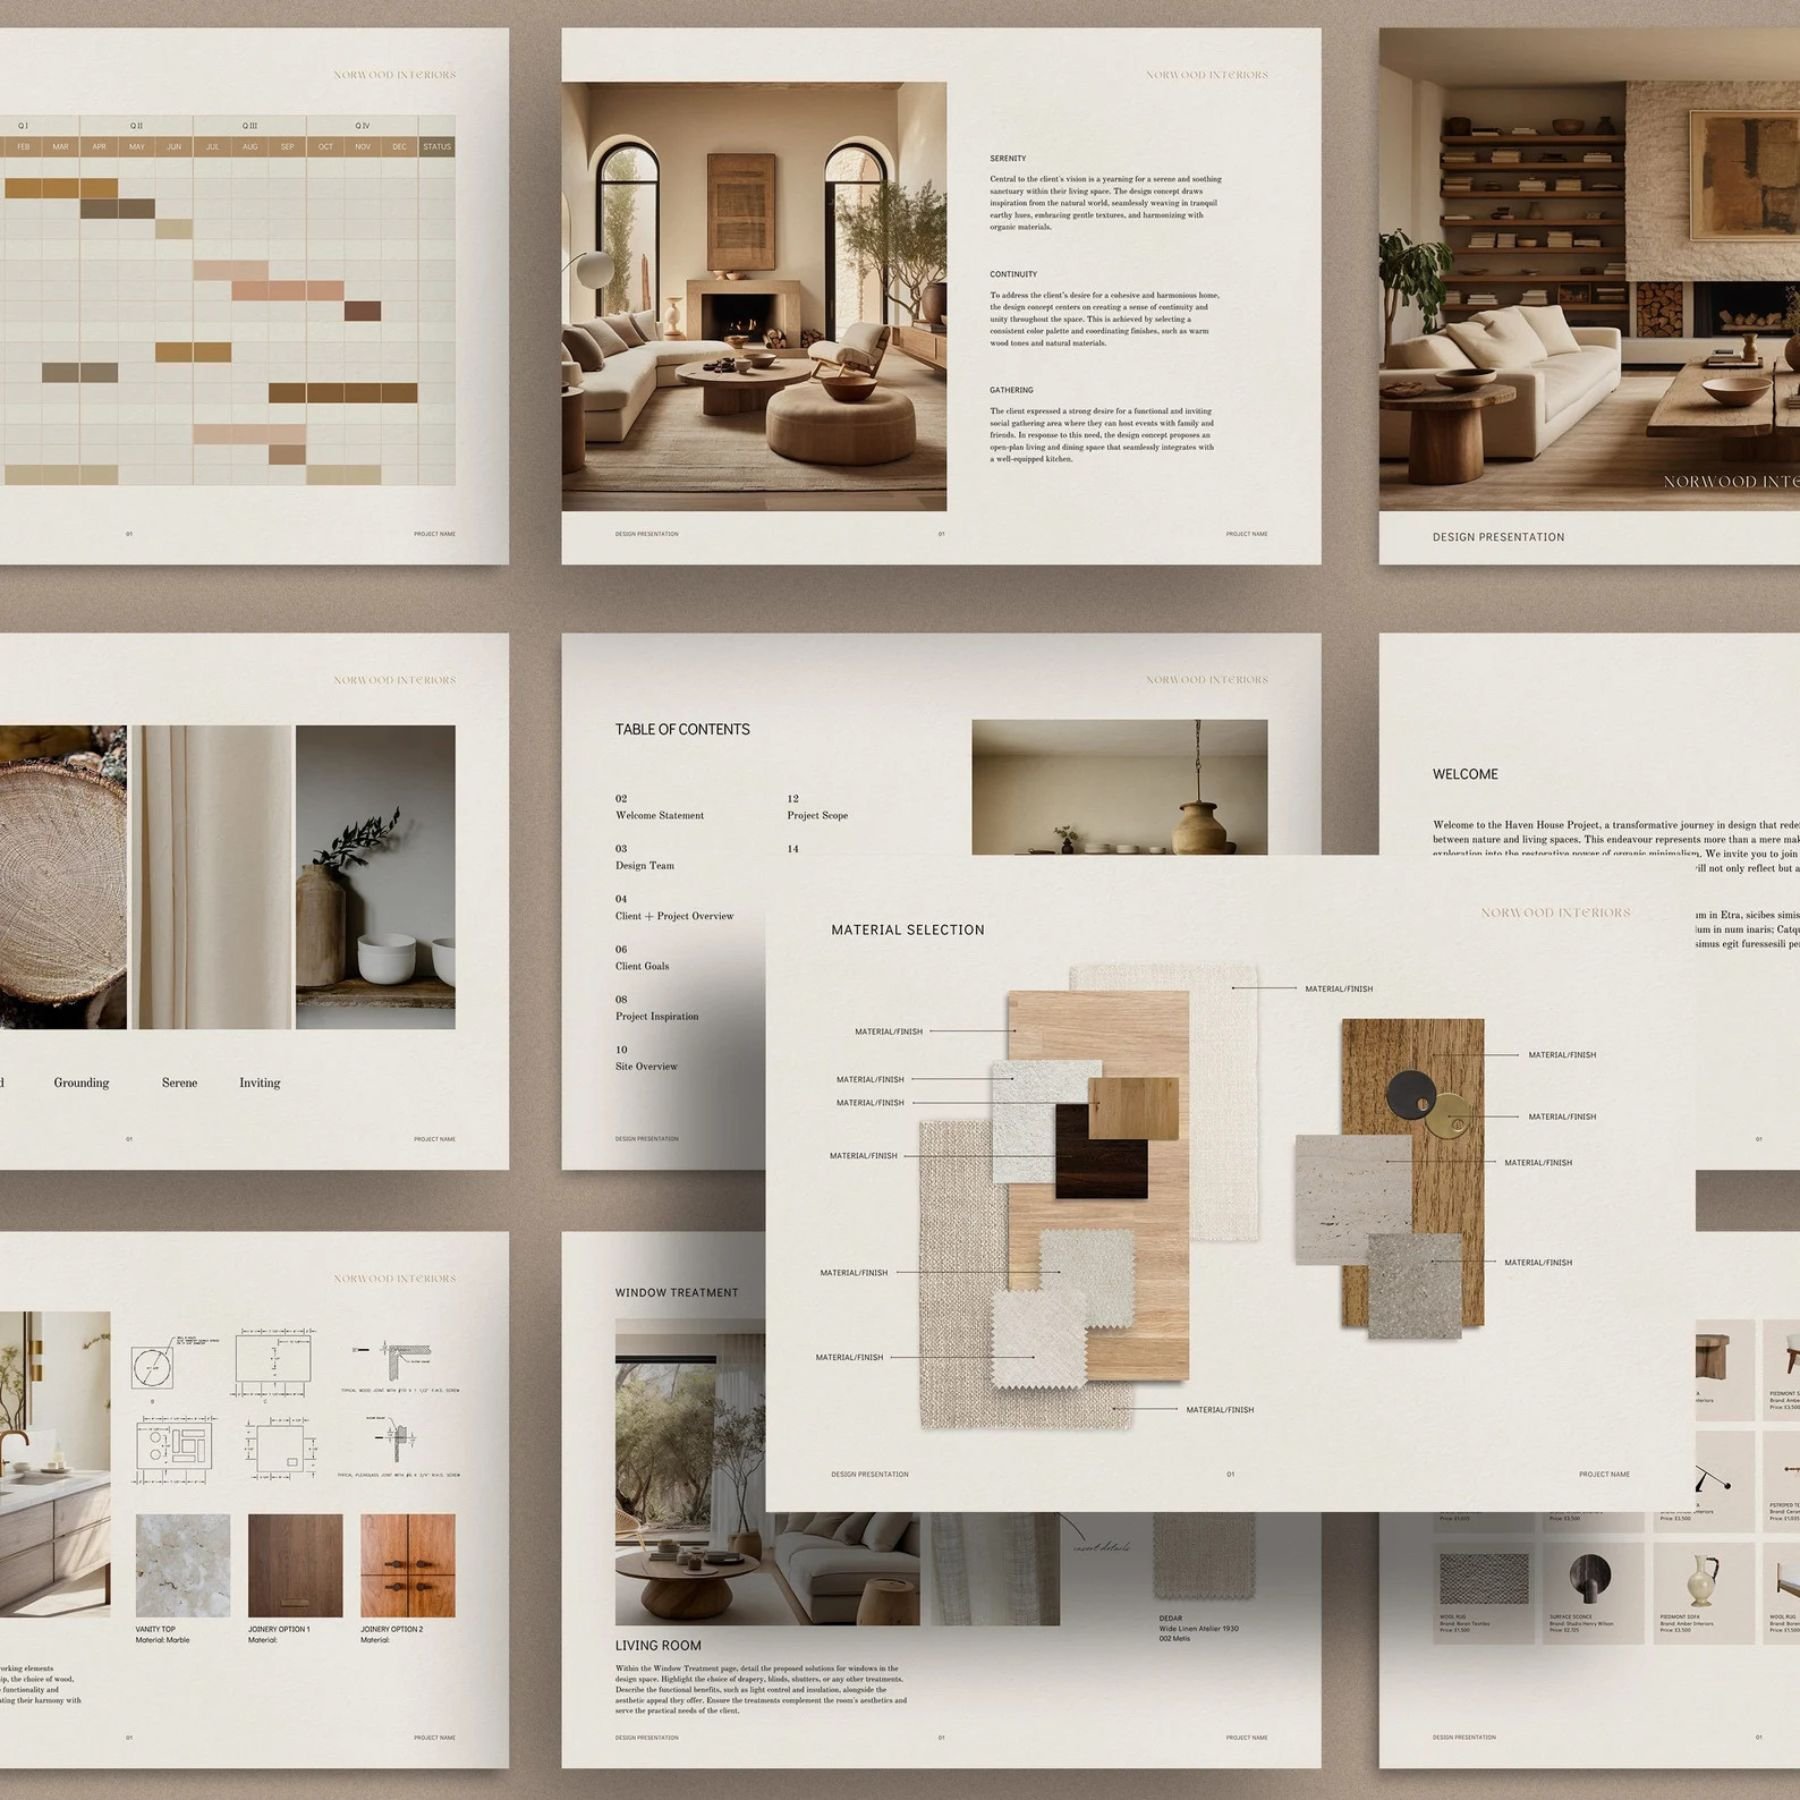
2. Format for Impact
A 16:9 aspect ratio is your best bet for a seamless full-screen experience across different devices. High-resolution content (think 1920x1080 pixels) ensures your designs are crisp and clear, both on screen and if printed. Discreetly embedding your logo on each slide adds a professional touch without being distracting. And don't forget the power of a strong opening with a cover page and a gracious closing with a "Thank You" page.
3. Tailor Your Templates
Starting with a well-crafted template ensures consistency, efficiency, and professionalism. But remember, customization is key. Each presentation should be a reflection of the project's unique characteristics, requiring tweaks and adjustments to the template to ensure your design's visual and textual elements are harmoniously presented.
4. Bring Textures to Life
Since clients can't physically interact with the materials, it's vital to include close-up images that capture the intricacies of textures and fabrics, or additional photos showcasing how a material looks under different lighting conditions or when applied in various settings. These visual aids are essential in bridging the sensory gap, allowing clients to appreciate the depth and quality of materials as if they were examining them firsthand.
5. Master the Layout
Achieving a balanced layout involves more than just arranging elements. Utilizing grids ensures everything is aligned and proportionally spaced, creating an aesthetically pleasing arrangement. Implementing a visual hierarchy draws attention to key aspects, and dividing your presentation into clear sections aids in narrative flow. A moderate use of labels and arrows can also be helpful, guiding the viewer's understanding without overwhelming them. Stick to one concept or theme per page to keep the message clear and digestible.
6. Prep Like a Pro
Before the meeting, define your presentation's agenda and objectives. Creating a bullet-point list ensures you cover all necessary points. A quick practice run-through can help avoid any hitches during the presentation, making for a smoother experience.
7. Simplify Your Language
Clear and simple language makes your presentation accessible to all clients, regardless of their familiarity with design terminology. Your tone should strike a balance between professionalism and approachability, showing confidence in your expertise while being open to feedback.
8. Detail Where It Matters
While being concise, don't shy away from detail where it enhances understanding or appreciation of your design. Furniture plans, key elevations, quality images, and even 3D views can elevate the client's understanding. However, limit options for product selections to avoid decision fatigue for your clients. It's your role to sift through the possibilities and present only the best options–and be able to plainly point out the virtues of each.
9. Screen Share the Right Way
Maintaining a polished and organized digital workspace is as important as your physical presentation space. Minimize distractions and protect privacy by closing unnecessary apps and tabs, using a dedicated user profile if needed. Sharing only the relevant application window or tab focuses attention on your content.
10. Feedback Is Key
Making plenty of space for feedback throughout the presentation ensures that no insights are lost or forgotten. Waiting until the end for comments can overwhelm clients and dilute the quality of feedback. Regular intervals for discussion keep engagement high, and it also gives you the chance to refine your approach based on their inputs as you go along.
11. Record the Insights
Make sure to capture all feedback. When a note-taker isn't an option, consider recording the session (with the client’s prior consent) or using transcription software like Otter.ai or the recording features in Zoom and Microsoft Teams. This ensures that no valuable insight is lost and that you can refer back to client feedback as your project progresses.
12. Follow Up
Sending a detailed follow-up email summarizes the discussion and outlines the next steps. It not only keeps the project momentum going but also serves as a clear record of decisions made and actions required, ensuring everyone is on the same page.
By integrating these strategies into your virtual presentations, you elevate not just the visual aspect of your work but also the collaborative and interactive experience with your clients. Each presentation becomes an opportunity to build trust, showcase your expertise, and move one step closer to realizing your client's vision and a design that you can be very proud of!
Happy Presenting!
xx, Danae